Discover how to install a penny countertop!
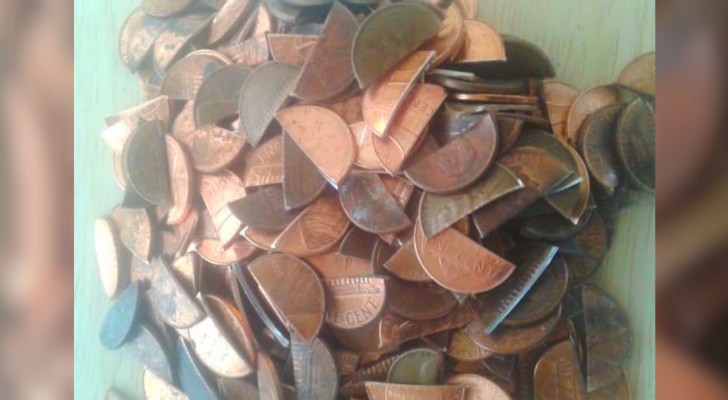
When a house is being renovated that is the moment when you have the opportunity to express your imagination and to personalize the style that you have chosen for your home. If you have even the most basic skills for manual work and a passion for DIY projects then the ideas that can be realized are truly endless.
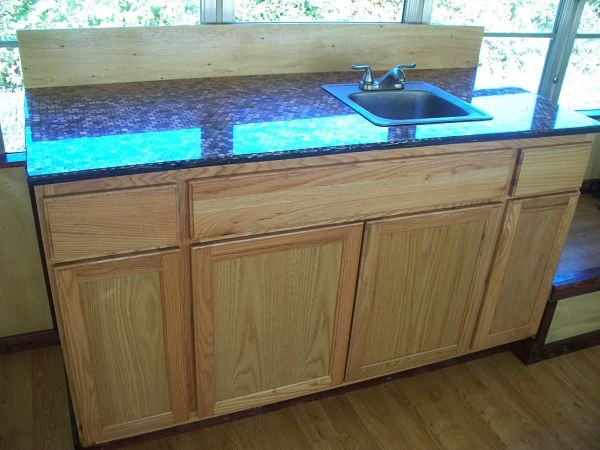
This man, for instance, decided to make a special countertop for his kitchen. Armed with lots of patience and a large quantity of one cent (USD) (penny) coins he created a masterpiece! Here are the pictures of his DIY project posted on Reddit platform.
His idea was to cover the countertop surface with one cent (USD) (penny) coins. Consequently, the man went to the bank and bought boxes filled with penny coins for a total value of $40 USD.
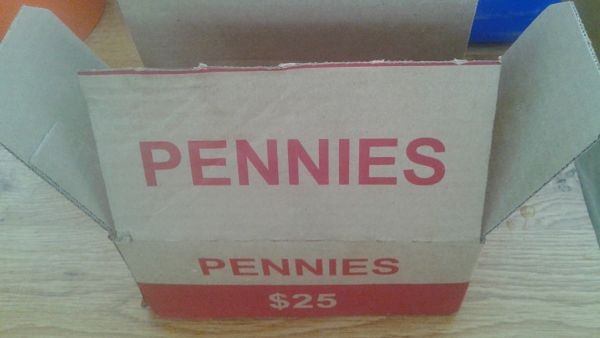
The cost for using pennies was $2/sq.ft which is a very affordable cost since the cheapest countertop covering material starts at $10/sq.ft.
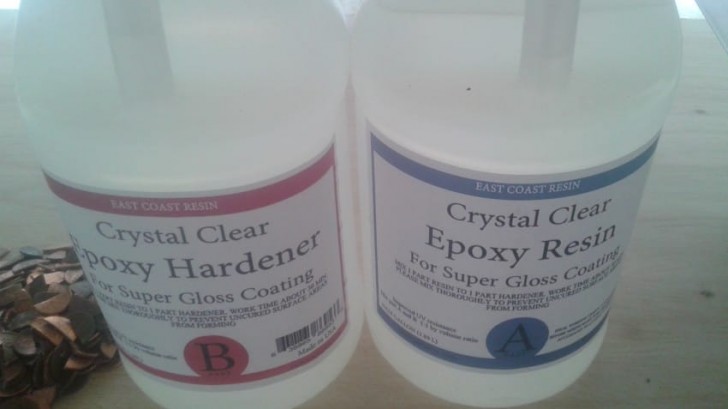
Then he procured an epoxy resin and a special hardener. These two products when combined create a solid countertop cover, resistant and totally transparent.
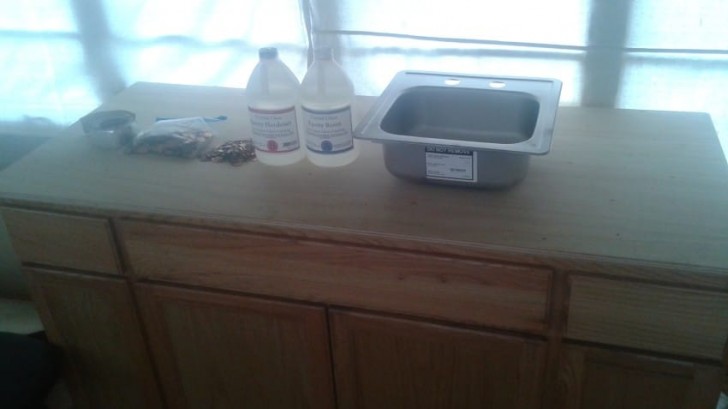
The countertop and including the sink, is housed in a piece of furniture.
To clean and polish the coins, he let them soak in vinegar until the stains and rust had dissolved.
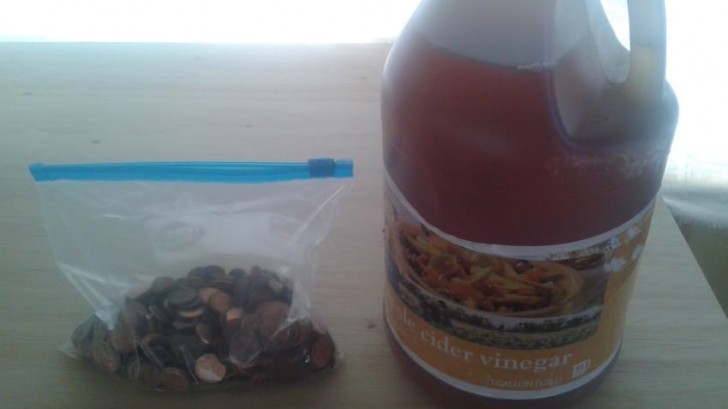
Not all coins can be cleaned in the same amount of time; some may require prolonged soaking.
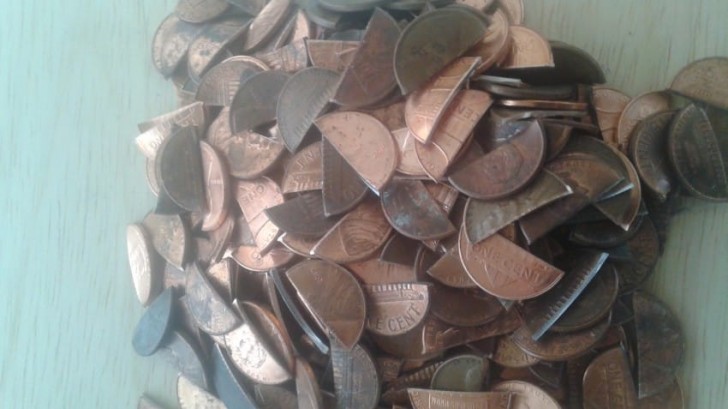
Once he had procured all the materials, he started creating the kitchen countertop. First, he drew the shape of the sink on a plywood board.
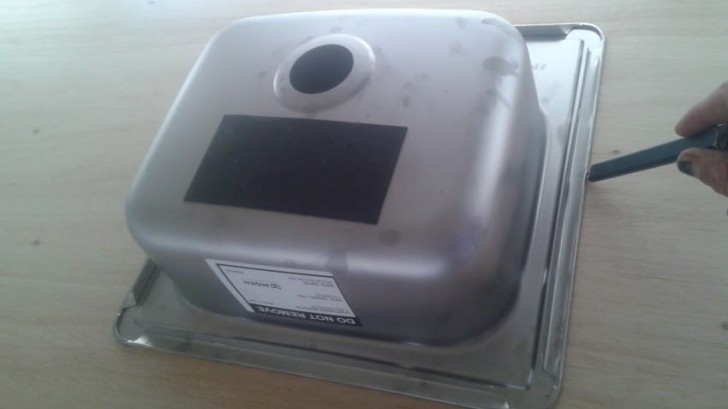
Using an electric saw was able to cut the hole without damaging the plywood board.
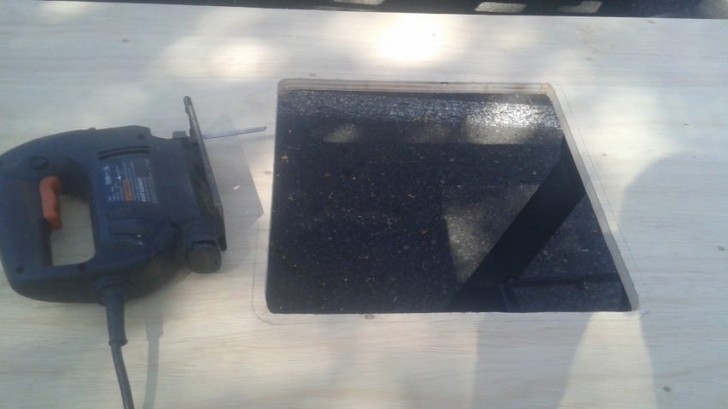
The wood was then painted black because the coins will leave small gaps through which the plywood underneath will be visible.
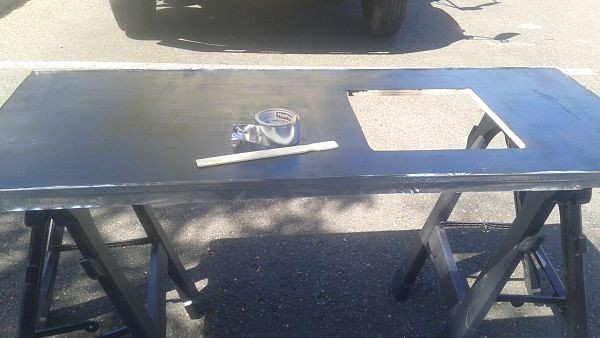
The choice of black was made to accentuate the brightness of the coins.
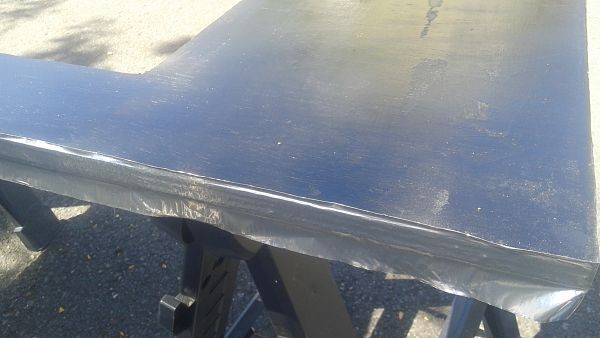
Once the paint was dry, he began to position the coins. This is undoubtedly the step that requires a lot of patience!
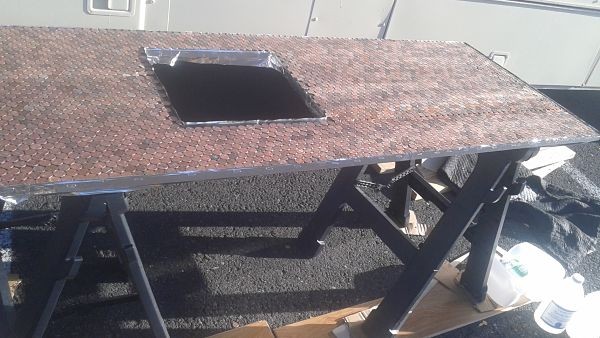
Then he was poured the epoxy resin and allowed it to dry completely.
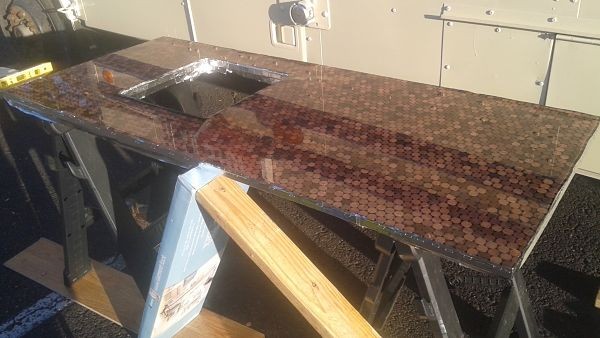
Despite the diverse shades of the coins, caused by different degrees of oxidation, the result remains excellent!
During the drying phase, the resin may create air bubbles that must be removed carefully by using an empty syringe.
The man chose to build his kitchen countertop outside and this caused a slowdown in the process of drying the resin due to night temperatures and humidity.
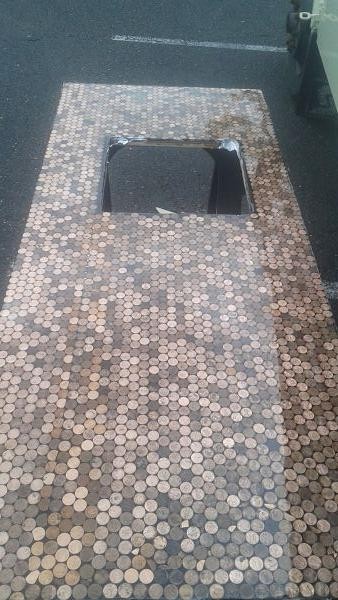
When the resin had dried completely, the man installed the sink.
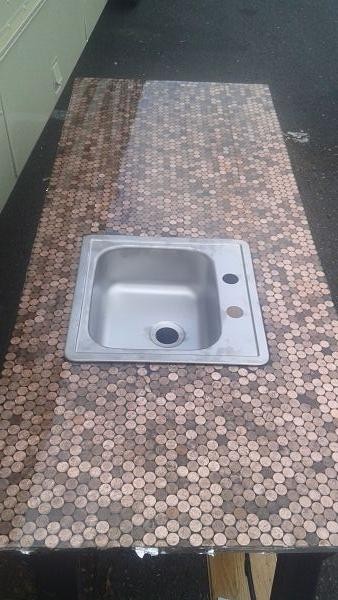
The resin had formed a durable cover that resists blows and cuts while leaving the underlying coins fully visible.
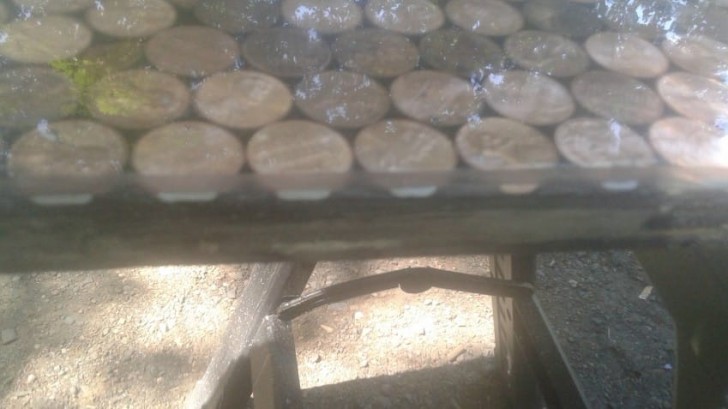
The hundreds of coins lying side by side create a spectacular effect, almost hypnotic!
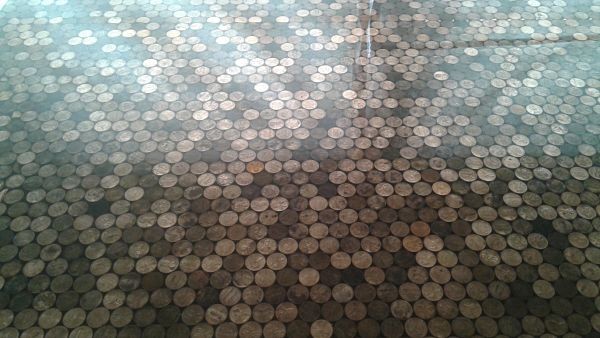
A very creative idea to make a kitchen countertop special and unique!
The idea of using penny coins as a covering for tables, countertops, and floors, has been trending for some time on the Internet! In any case, here is a time-lapse video of another fantastic DIY project using penny coins! Have fun!
