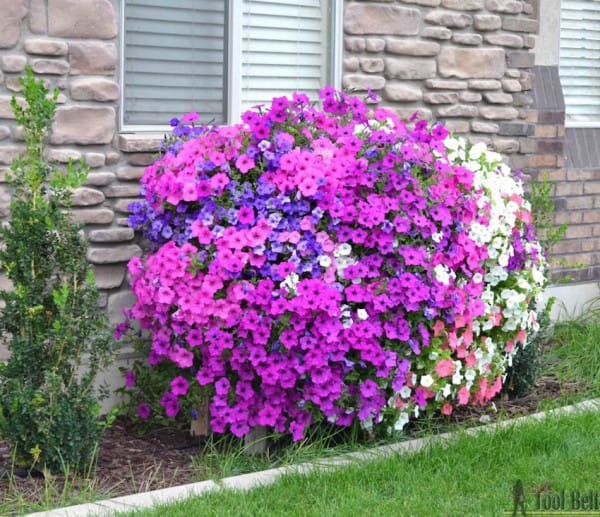
Make 19 holes in the sides of a wooden planter box -- Enjoy the colorful show five months later!
Advertisement
If you are a beginner with gardening DIY projects, this is a good job to start with to get some experience. Professional growers of flowering plants have the tools and knowledge to make a plant bloom to its full capacity thus creating those immense colorful bushes.
In any case, Stan and Amy, DIY gardening lovers, wanted to experiment with their own idea to display cascading petunias in their garden using a box made of wooden pallets.
via hertoolbelt.com
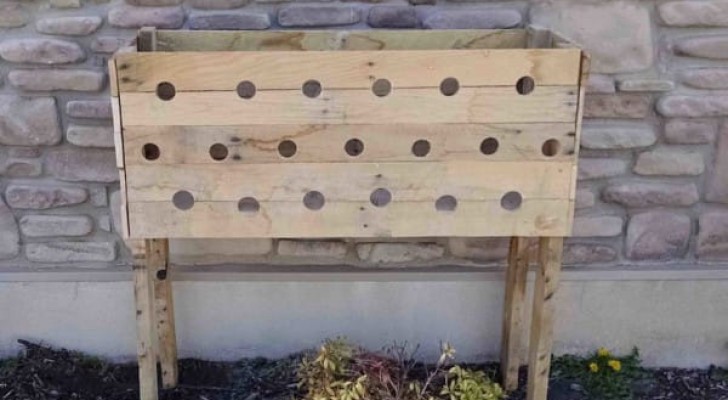
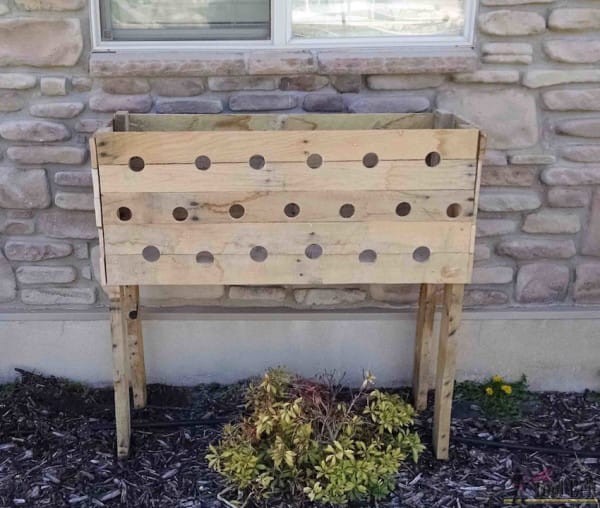
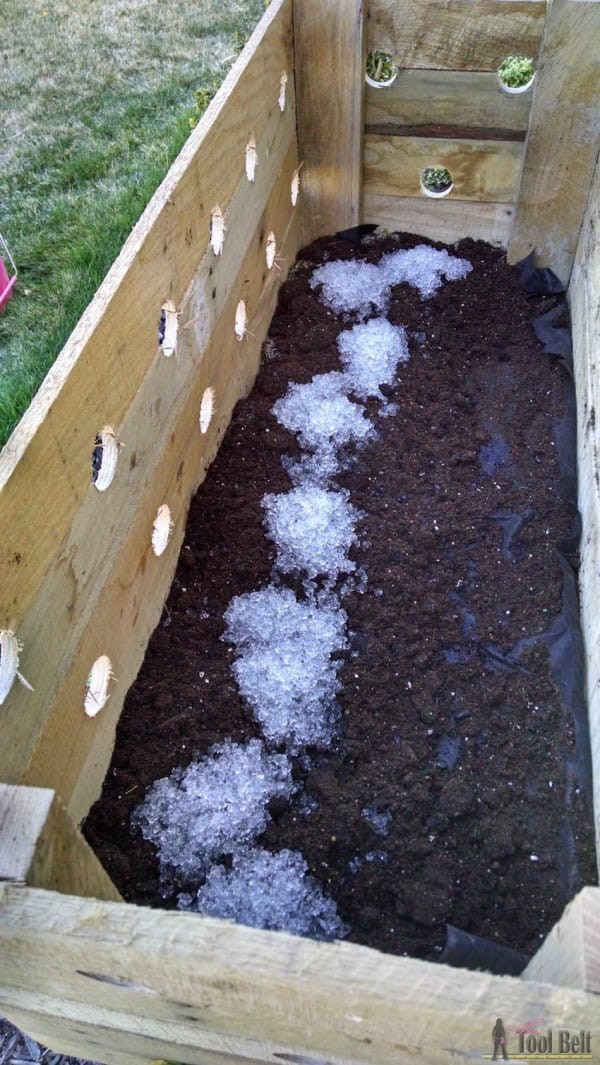
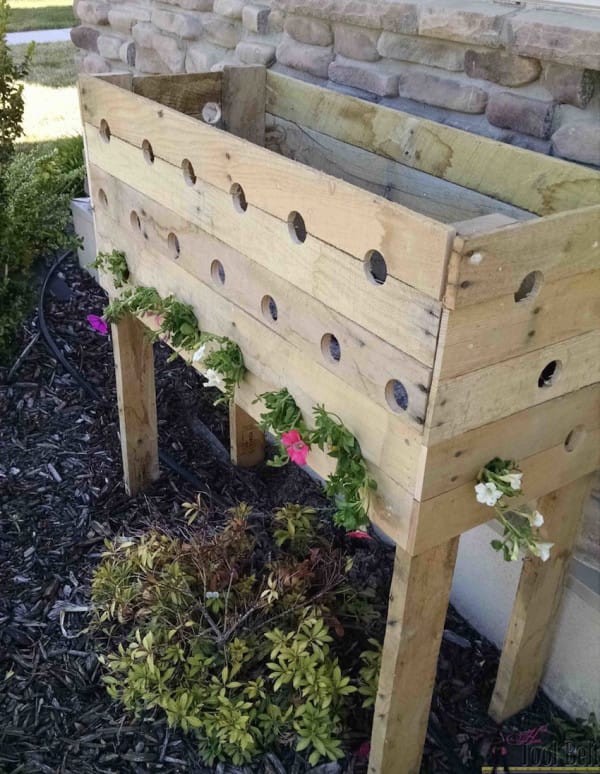
First, get yourself a large planter. Stan built his planter by himself with cedar pallets. Next, make 19 holes on the largest side, and also two holes on the smallest side.
Advertisement
Fill the planter with soil and add fertilizer. If the box has any gaps open on the bottom, you can cover them with a tarpaulin.
Pass the petunia plants through the holes, filling the front row. Then cover the roots with soil.
If you prefer, use polystyrene as a filler, spreading it on the opposite side of the one with the holes.
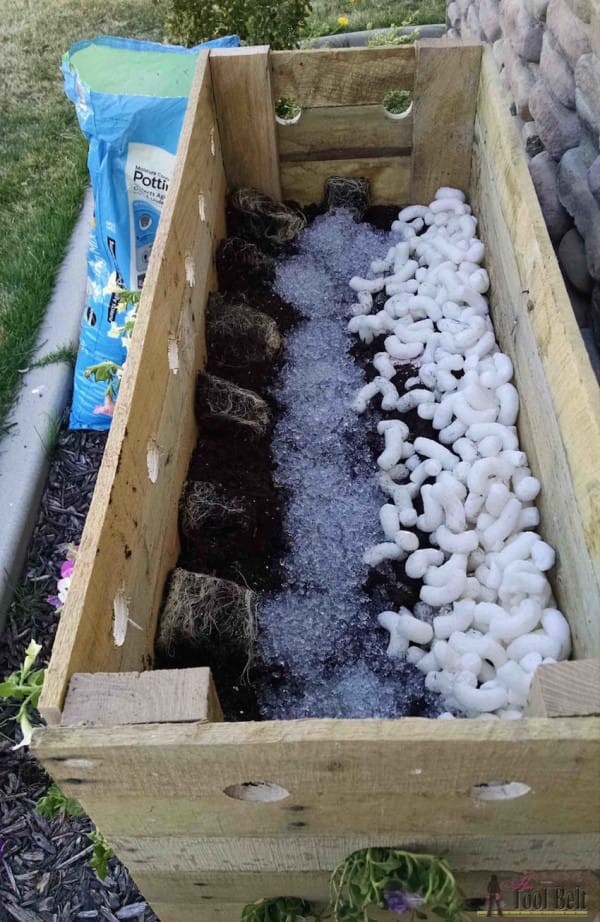
Add the second row of flowers and, similarly, cover the roots with soil.
Advertisement
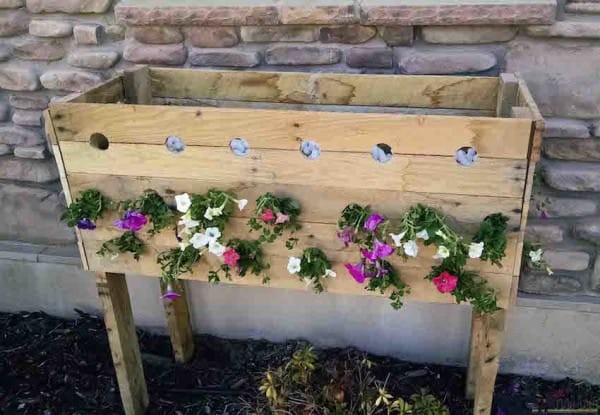
Complete the job by inserting the petunias in the last series of holes. Let them grow, watering them regularly from above.
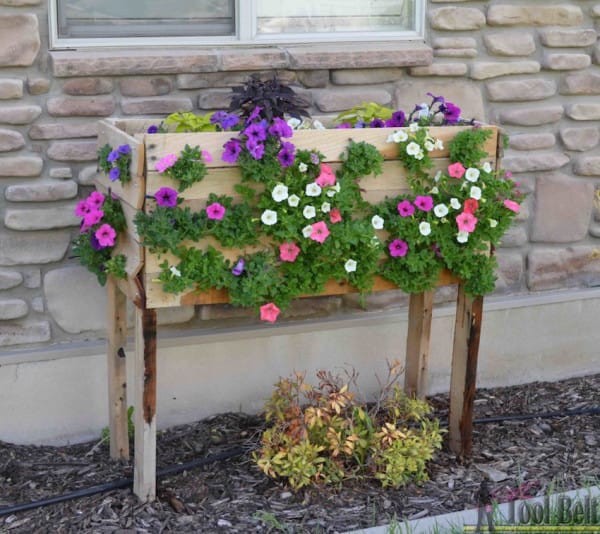
Day after day you will see how the bush is growing, and becoming bigger and bigger ... and fragrant!
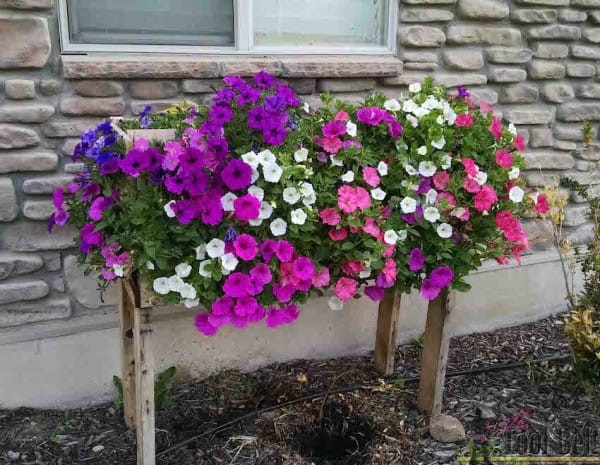
Advertisement
If you notice a period of poor flowering, try administering plant fertilizer and a pesticide.
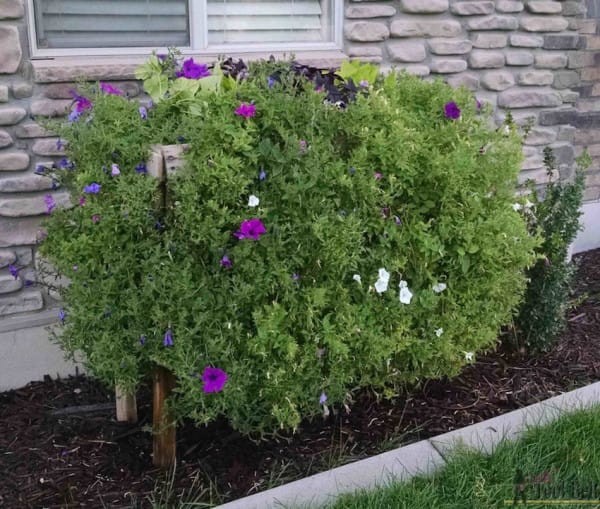
The flowers will grow back, more numerous than ever!
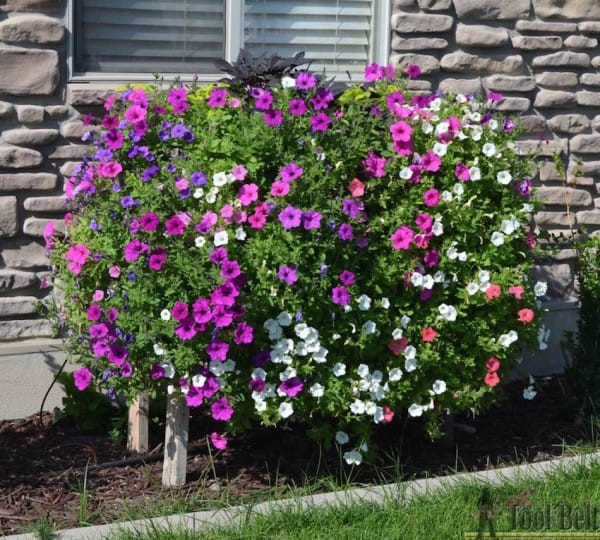
Advertisement
After five months, the petunias will be a real cascade of flowers ... Magnificent!
If you plan to repeat this wonderful DIY project, here is an idea for building your own wooden planter box!
Advertisement
