How to build a swimming pool from wooden pallets!
Advertisement
If having a swimming pool in your garden has always been your summer dream but you thought it would be too expensive to build one. . . you are wrong!
With the right set of tools, a lot of patience and good teamwork you can build a custom-made swimming pool for your garden in less than twenty-four hours and at a reasonable cost. Let's see how!
- Watch the video at the end to see all the steps for this DIY project.
via Youtube
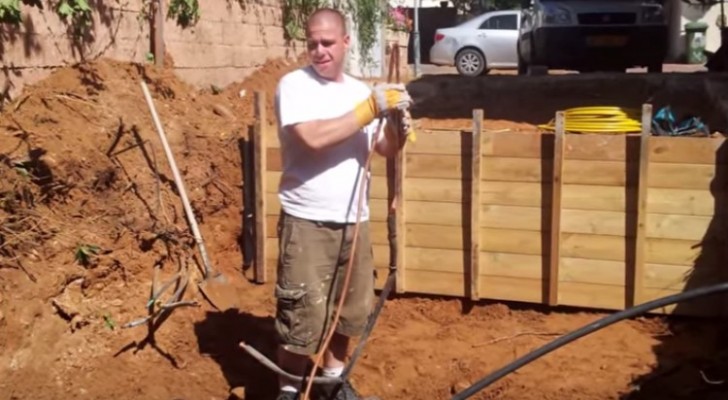
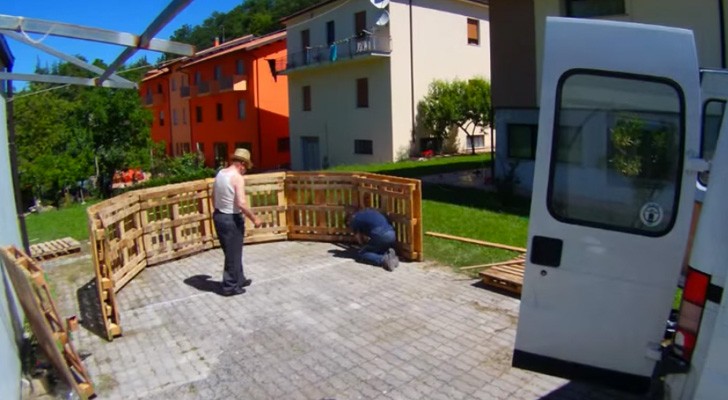
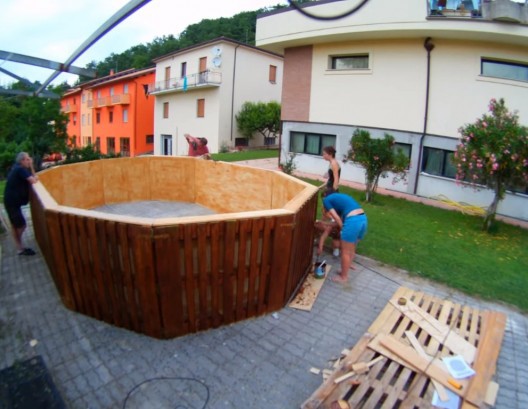
1. Procure 12 wooden pallets (130x110 cm) from any industrial area.
Advertisement
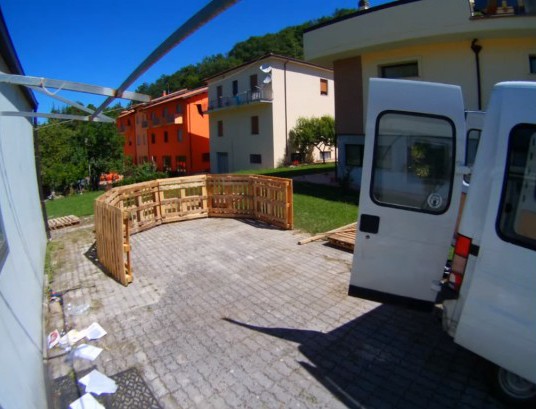
2. Secure them to each other in a hexagonal shape and line the inside of the structure with panels of plywood of 3 mm thickness.
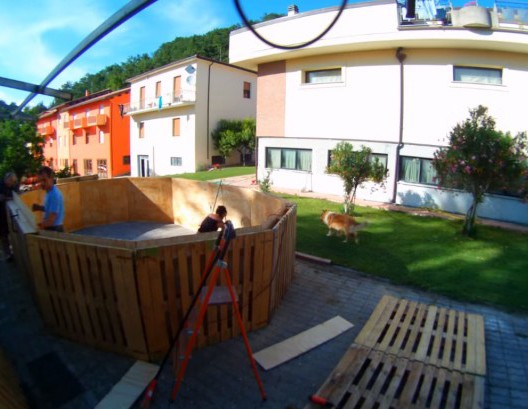
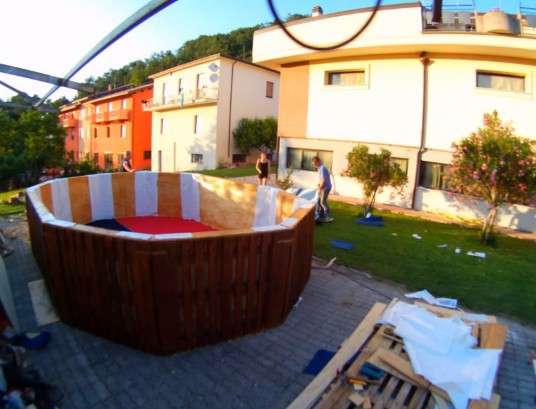
3. Proceed with the finishing touches --- create the pool edge, polish, and paint the wooden slates.
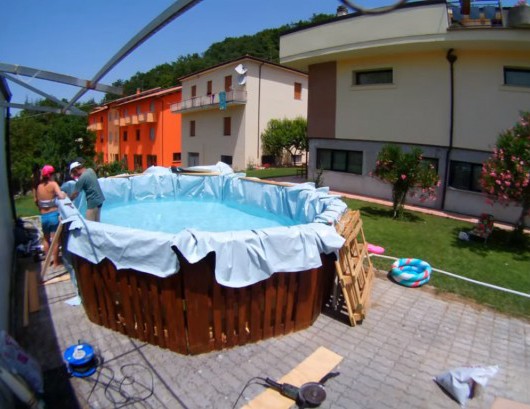
4. Line the bottom of the swimming pool with plastic sheeting and cover with a large piece of coextruded polyethylene. Make sure everything is fixed and secure.
5. Install the accessories for pumping and filtering the water and . . . start to fill it!
Advertisement
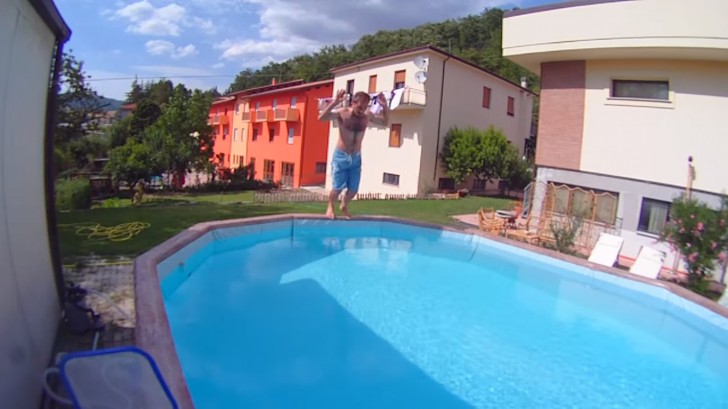
6. Admire the results of a tiring day of work and . . .

7. Dive in!
Advertisement